
How to Remove Oil From Car Exterior Surfaces Safely
Finding an unsightly oil slick, engine grease smudge, or dark road grime on your vehicle’s pristine paint is an immediate cause for concern. Whether it splattered up from a fresh patch of highway maintenance on Interstate 35, leaked from a passing semi-truck, or dripped from an engine component during a routine garage project, oil does not belong on your clear coat. If left ignored, petrochemicals can slowly degrade your vehicle’s protective layers, binding to the paint and trapping heat, dust, and abrasive environmental debris.
For Oklahoma vehicle owners, addressing this issue quickly and correctly is vital to maintaining resale value and preventing long-term clear coat failure.
If you are dealing with this automotive headache right now, you need to learn exactly how to remove oil from car exterior panels without scratching the underlying finish or stripping away vital clear coat thickness. While your immediate instinct might be to reach for harsh household chemical degreasers or an aggressive scrubbing pad, improper techniques will easily inflict permanent swirls, marring, and chemical burning across your vehicle’s exterior panels.
This comprehensive guide will walk you through safe, professional-grade methods to eliminate oily residues while preserving your paintwork’s high-gloss finish.
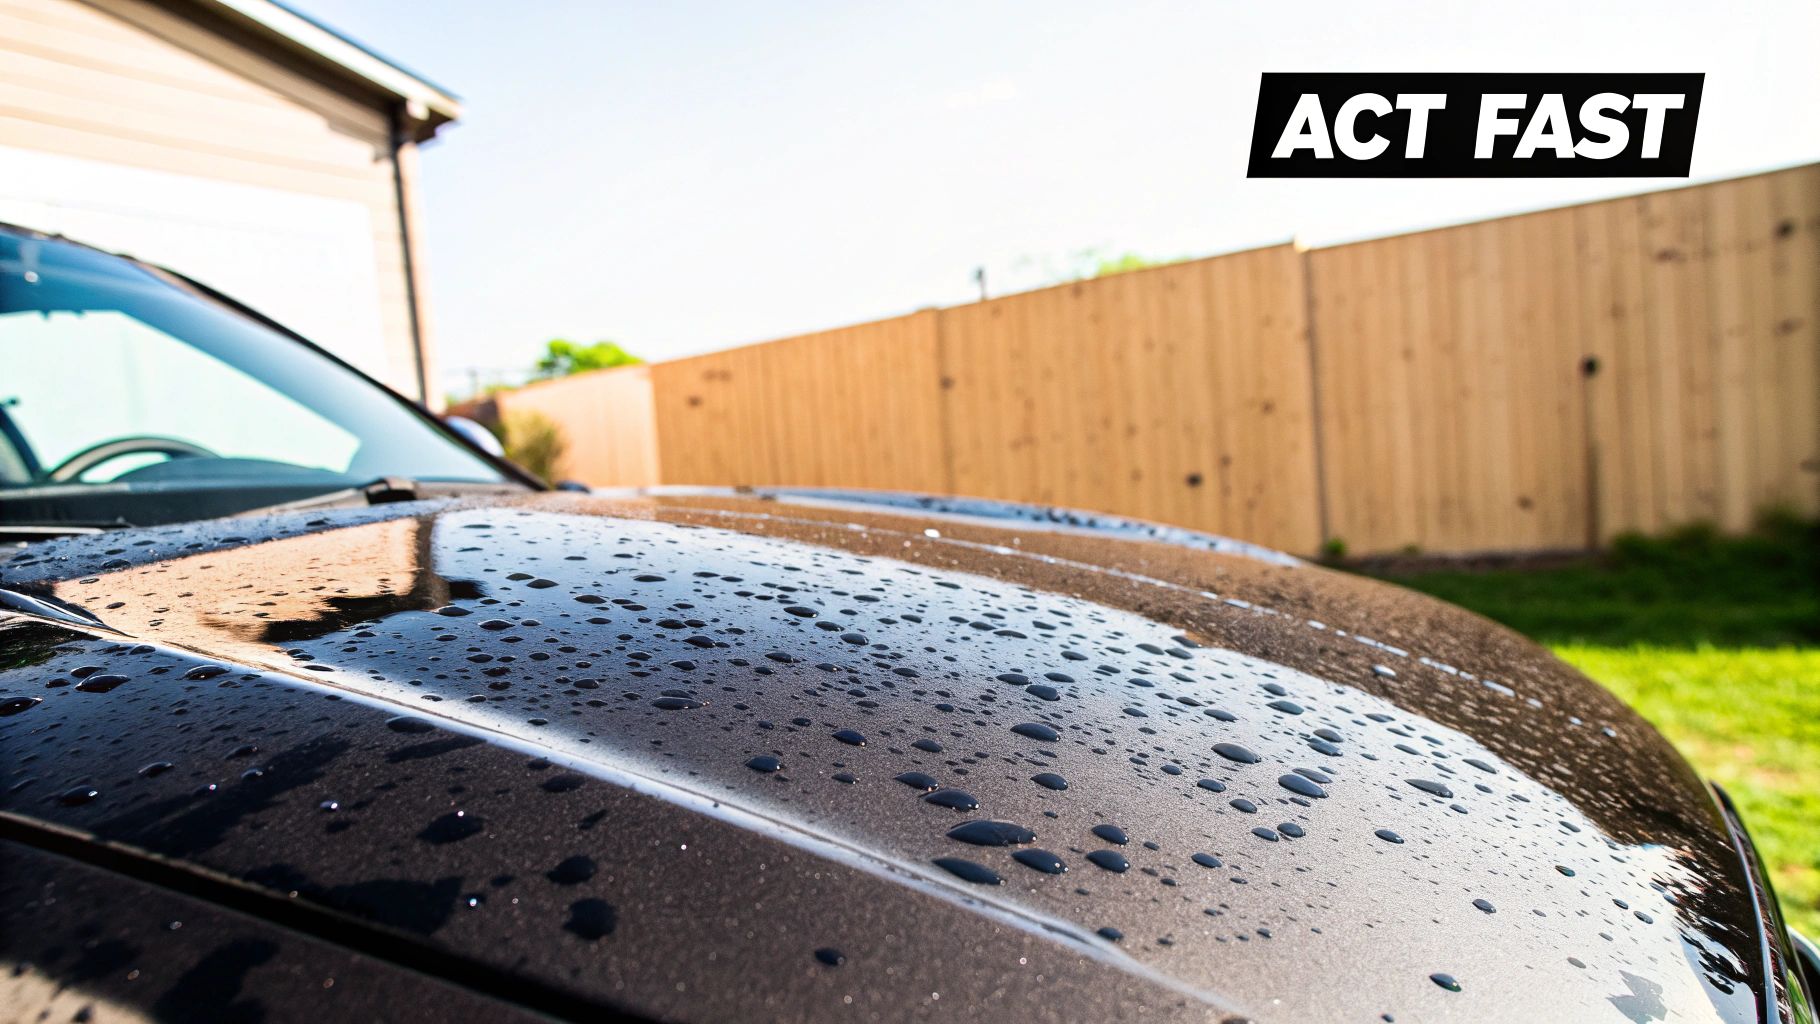
The Core Science: Why Oil Bonds to Paint
To safely dissolve oily film, you must understand the chemical behavior of the contaminant. Motor oils, road tars, and mechanical greases are complex hydrocarbons designed specifically to adhere tencially to surfaces under extreme heat and friction. When these substances strike your vehicle’s warm exterior panels, they rapidly spread out, cool, and establish a stubborn, hydrophobic bond with the clear coat.
Standard automotive wash shampoos are formulated with mild, pH-neutral surfactants designed to float away loose surface dust, pollen, and mud. However, they frequently lack the chemical strength required to break down dense, heavy petroleum bonds.
Attempting to force the oil off using heavy physical pressure with a wash mitt will simply smear the greasy residue across a wider surface area. Worse, it traps tiny, invisible pieces of silica dust and road sand inside the oily film, transforming your wash cloth into a coarse sheet of sandpaper that will instantly cloud your clear coat with deep micro-scratches.
Quick Reference: Oil Removal Methods Comparison
Different levels of contamination require completely different tools. To help you select the safest path forward before touching your paint, review this professional breakdown of common removal techniques:
| Removal Method | Best For | Risk Level | Clear Coat Impact |
| Dedicated Bug & Tar Remover | Fresh road oil splatters, light engine grease spray. | Very Low | Safe for clear coats; strips temporary waxes. |
| Isopropyl Alcohol (IPA) Wipe | Thin oily films, polishing oil residues, fingerprints. | Low | Dehydrates surface; must be followed by protection. |
| Detailing Clay Bar System | Embedded, dried oil over-spray and bonded road grime. | Moderate | Can cause minor marring if insufficient lubrication is used. |
| Professional Paint Correction | Baked-on oil stains that have etched into the clear coat. | High (DIY) | Safely levels clear coat when executed by an expert craftsman. |

Step-by-Step Guide: Safely Removing Oil Contamination
To execute a flawless decontamination process without damaging your vehicle’s delicate clear coat, follow this structured, professional sequence carefully.
The Removal Method
1.Perform a Comprehensive Pre-Wash:10-15 min.
Never touch oily paint with a wash mitt immediately. Thoroughly rinse the entire vehicle with a high-pressure hose or pressure washer to blast away loose dirt, dust, and grit. Apply a thick layer of dedicated snow foam using a foam cannon to encapsulate surface debris, letting it dwell for five minutes before rinsing completely.
2.Apply a Specialized Hydrocarbon Solvent:3-5 min dwell time.
Spray a high-quality, clear-coat-safe bug and tar remover or a dedicated intensive degreaser directly onto the isolated oil spots. Allow the product to dwell according to product instructions so the chemical surfactants can break apart the dense petroleum bonds from the paint. Do not let the product dry on the surface.
3.Gently Wipe with Premium Microfiber:Minimal downward pressure.
Soak a clean, plush, high-GSM microfiber towel in warm, soapy water. Fold the towel into quarters and gently wipe the treated area in a straight-line motion. Let the chemical cleaner do the heavy lifting do not scrub or rub in circles. Flip the towel to a clean side frequently to prevent re-depositing oil.
4.Decontaminate with a Clay Bar:For stubborn, embedded spots.
If the paint still feels rough or shows faint dark spotting after rinsing, spray a dedicated clay lubricant generously over the area. Gently glide a fine-grade detailing clay bar across the wet panel using light finger pressure. The clay will safely shear off and absorb the remaining embedded oil contaminants.
5.Re-wash, Rinse, and Dry:Neutralize remaining chemical residue.
Perform a final hand wash on the treated panels using a clean wash mitt and a premium automotive shampoo to neutralize and rinse away any remaining chemical solvents. Thoroughly dry the vehicle using a dedicated microfiber drying towel to avoid water spotting.
Addressing the Aftermath: Re-protecting Your Paint
Once you successfully execute the process of how to remove oil from car exterior panels, your work is not quite finished. Specialized tar removers, intensive degreasers, and isopropyl alcohol wipes are highly effective, but they are completely non-selective. This means that while they successfully dissolve the stubborn motor grease, they also completely strip away any protective carnauba waxes, paint sealants, or ceramic spray coatings that were previously resting on your clear coat.
Leaving your paint completely bare and exposed to the harsh elements is a recipe for rapid oxidation and environmental damage. The intense ultraviolet rays and unpredictable regional weather patterns can quickly fade unprotected clear coats.
Once the treated area is completely dry, you must immediately apply a fresh layer of surface protection. At a bare minimum, apply a high-grade synthetic polymer sealant or a ceramic-infused spray coating to restore hydrophobic properties and lock out future road debris.
Pro Maintenance Tip: If you want to eliminate the stress of road oil bonding to your vehicle in the future, consider upgrading to a professional-grade, multi-year ceramic coating. True ceramic coatings create an ultra-hard, chemically resistant, glass-like quartz barrier over your paint. Because ceramic coatings are highly oleophobic (oil-repellent), road oils and engine grease cannot firmly bond to the surface, allowing them to wash away effortlessly during a standard maintenance rinse.
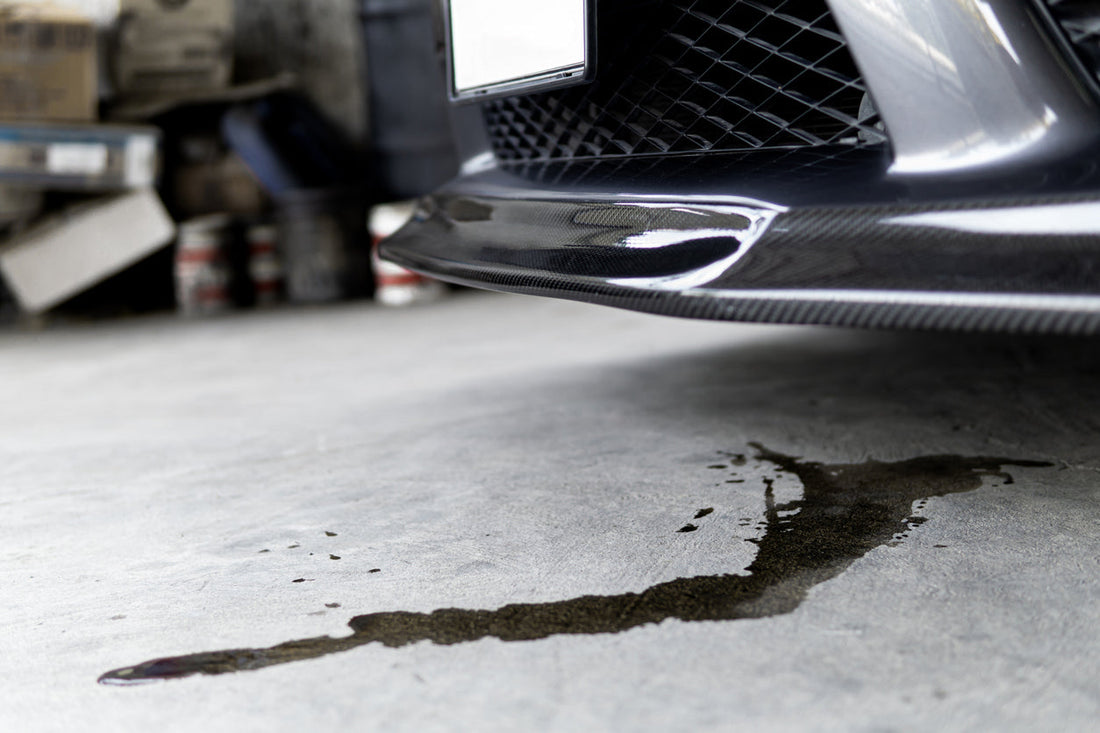
Environmental and Safety Practices for Oklahomans
When washing heavy oil and mechanical greases off your vehicle at home, it is crucial to remain mindful of local environmental impacts. According to the Oklahoma Department of Environmental Quality (DEQ), untreated residential car wash runoff containing petroleum products, heavy metals, and harsh surfactants can flow directly into local storm drains, which empty directly into community streams, rivers, and groundwater systems without filtration.
To practice responsible vehicle care, try to perform intensive oil decontamination washes over a grassy yard or gravel driveway whenever possible, as the soil acts as a natural biological filter to break down hydrocarbons safely. Alternatively, use a modern waterless or rinseless wash system for localized spot cleaning, collecting any contaminated microfiber towels to be laundered responsibly rather than allowing heavy chemical suds to run freely down your residential street gutter.


